Start a Specular map with a Normal map
Overview
One notable method of starting a Specular map, is basing it on a Normal map. The advantage with this process is it results in a texture that is more “shiny” on flat surfaces, and becomes progressively less shiny as the angle deviates. Most artists will opt to continue modifying the Specular map after using this method to generate one. Indeed, this method shouldn’t be considered a tutorial on Specular maps from start to finish, rather it is a good start.
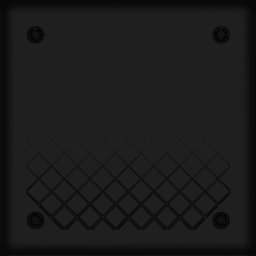
Normal Map
Start with the normal map.
Channels
Copy the red channel, and paste it into a new image.
Paste another copy of the red channel into another new image, and invert this copy.
Copy the green channel, and paste it into a new image.
Paste another copy of the green channel into another new image, and invert this copy.
Levels
In each of the image documents containing the normal map’s channels, modify the “levels.”
- Select Image > Adjustments > Levels (CTRL+L) in Photoshop.
- Select Tools > Color Tools > Levels in The GIMP.
The Input should be set to 128 , 1.0, 255. The Output should be set to 128 , 255.
This effectively (and accurately) removes all colors with an intensity less than 128, thus eliminating the dark areas of the images.
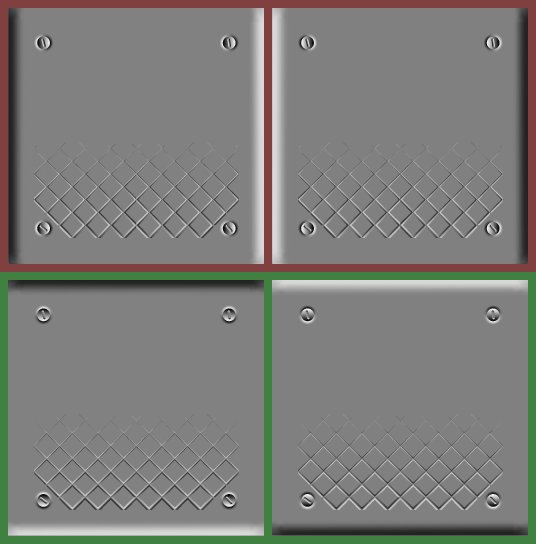
All Together
Create a new image. Fill it with 128, 128, 128 (sometimes referred to as 50% Gray).
Copy each of the four documents containing the normal map’s modified channels into four new layers on the new blank image.
- In Photoshop, set each layer’s Blend to Lighten.
- In The GIMP, set each layer’s Mode to Lighten Only.
Inverted
All other documents opened during this procedure may now be closed.
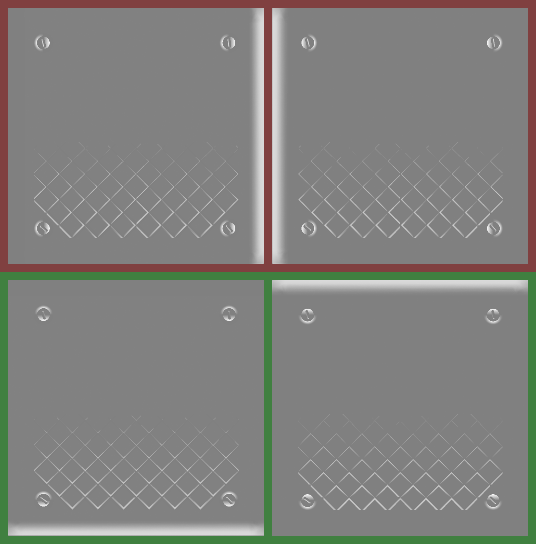
Unless otherwise required, the specular map can now be merged down (or “flattened”) into a single image.
As is, the Specular map describes more light being reflected as the angle deviates from flat. To reverse this, and make surfaces reflect more light when they’re flat, invert the image.
Ultimately, the Specular map will probably need to have its brightness reduced (the Layers dialog is also very handy at this), to something darker. Without further modification, the final result might look like this: