Editing MIP Maps
Overview
Editing MIP Maps is done in the compressed ( DDS ) version of the image. This tutorial will be using NVIDIA’s DDS plug-in for Photoshop . Authoring DDS files is, at this time, covered briefly in Texturing .
Examination
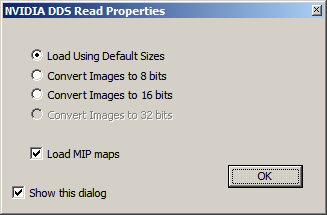
Open a DDS file in photoshop. Assure that “Load MIP maps” is enabled.
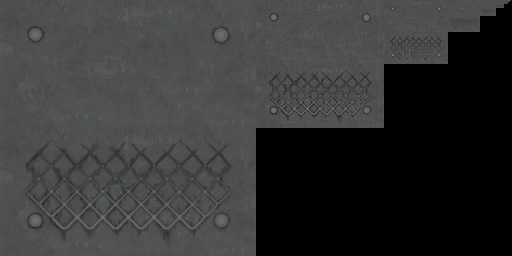
The image with each MIP map level can now be seen. Defects identified in game should be readily visible. Depending on the compression method used, compression artifacts can be seen in just one MIP map, several, or all of them.
Editing
The advantage to NVIDIA’s DDS plug-in is the loaded DDS file can be edited as is. This might run counter to one’s expectations, because the DDS format is described as a “lossy” format. However, this isn’t quite true. While programs that save DDS files must utilize a lossy compression scheme, the format itself is losslessly compressed. As long as we’re not editing outside of the DDS format (DXT1 in this example), no loss of data should be observed (i.e. one shouldn’t see compounding artifacts as is evident when opening, editing, and recompressing a jpg image).
Saving
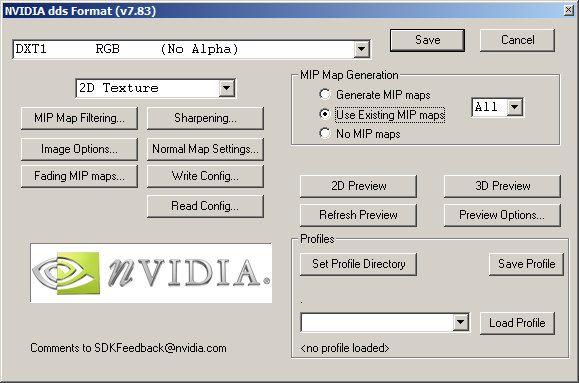
Once the image has been edited to suit, save the image. In the save dialog, be sure to enable “Use Existing MIP maps”. Make sure the correct format is selected (e.g. DXT1 for diffuse and specular, DXT5 for local).
Result
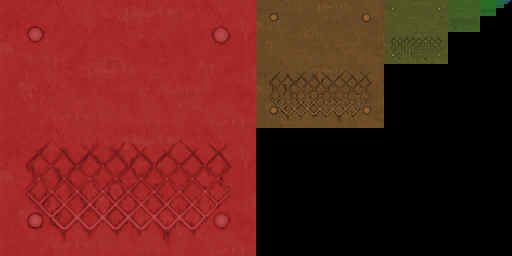
The example would look like this in game:
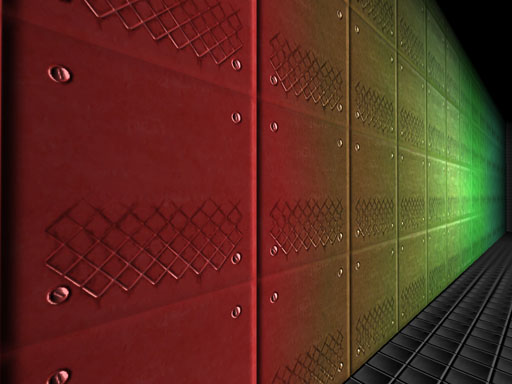
As you can see, anisotropic filtering results in a very smooth blend from one MIP map level to the next. However, different video cards apply this filtering in different ways. So please don’t rely on MIP maps for large changes such we’ve done with this example. It’s usually best to reserve MIP map editing for corrections to compression errors, or slightly stylizing an image to give it more or less sharpness as its distance from the player increases.